
How to use a clamp meter—it’s one of the most searched questions for new DIYers getting into electrical work at home. Buying a clamp meter is easy—but using it correctly? That’s where most DIYers stumble.
Many beginners grab a clamp meter thinking it will replace their multimeter, only to realize they don’t quite know how to use it properly. Worse, using a clamp meter the wrong way could give you inaccurate readings, or in some cases, put your safety at risk.
In this guide, we’ll walk step-by-step through how to use a clamp meter safely and effectively, especially if you’re a homeowner or beginner without a strong background in electrical tools. We’ll also cover bonus uses like testing capacitors, resistors, and tracking down broken wires.

Parts of a Clamp Meter (Know Your Tool)
Before we begin, let’s get familiar with the basic parts of a clamp meter:
- Clamp Jaws – the part that opens and clamps around a wire to measure current
- Rotary Switch (Dial) – selects what you’re measuring (current, voltage, resistance…)
- Display Screen – shows the measurement result
- Buttons – common ones include HOLD (freeze the reading), MAX/MIN, REL (relative), and Backlight
- Input Ports – some clamp meters also allow probe leads for voltage or resistance testing
Understanding what each part does will help you operate the meter confidently.
Important Safety Tips Before You Start
- Always read the manual first – Every clamp meter is slightly different
- Inspect your tool – Make sure there’s no damage to the clamp jaws, insulation, or display
- Use one hand if possible – This reduces the risk of current passing through your body
- Never clamp around more than one wire at once – It will cancel out the reading
- Start with the highest current range, then work downward if needed
These precautions keep you safe and improve your measurement accuracy.
Step-by-Step: How to use a clamp meter
This is the core function of a clamp meter: measuring current without needing to cut wires or disconnect anything.
Step 1: Turn the Dial to Current Mode (A~ or A–)
- A~ is for AC current (used in homes)
- A– is for DC current (used in cars, solar systems, etc.)
If your clamp meter only has A~, it won’t work for DC circuits.
Step 2: Open the Clamp Jaws
- Press the lever to open the clamp
- Make sure the meter is ON and zeroed (if needed)
Step 3: Clamp Around a Single Wire Only
- Do not clamp the entire power cable with both live and neutral wires
- Clamp only the hot/live wire (usually black or red)
Step 4: Read the Display
- The screen will show the current flowing through that wire
- Use the HOLD button if you want to freeze the reading
Step 5: Turn Off and Store Safely
- Always turn the dial to OFF after you’re done
- Close the clamp jaws and store the meter in a dry place
This process works for checking how much current is flowing through air conditioners, ovens, or electrical panels.
Bonus: Use Your Clamp Meter to Measure Other Values
Many clamp meters today also function as basic multimeters. Here’s how you can use those features:
1. Measuring Voltage (AC/DC)
- Plug the probe leads into the correct ports (COM and VΩ)
- Turn the dial to V~ (AC voltage) or V– (DC voltage)
- Touch the black probe to neutral/negative, and red to hot/positive
- Read the result on screen
This is useful for checking wall outlets, batteries, or solar panels.
2. Measuring Resistance (Ohms/Ω)
- Turn the dial to the Ω symbol
- Touch the two probes across the resistor or wire
- Make sure the power is OFF in the circuit being tested
- Read the resistance in ohms
Useful for checking heating elements, bulbs, or verifying component values.
3. Testing Continuity
- Set the dial to the sound wave or diode symbol (continuity test)
- Touch the probes to each end of the wire or fuse
- If you hear a beep, the circuit is good (not broken)
Perfect for finding broken wires or confirming electrical path connection.
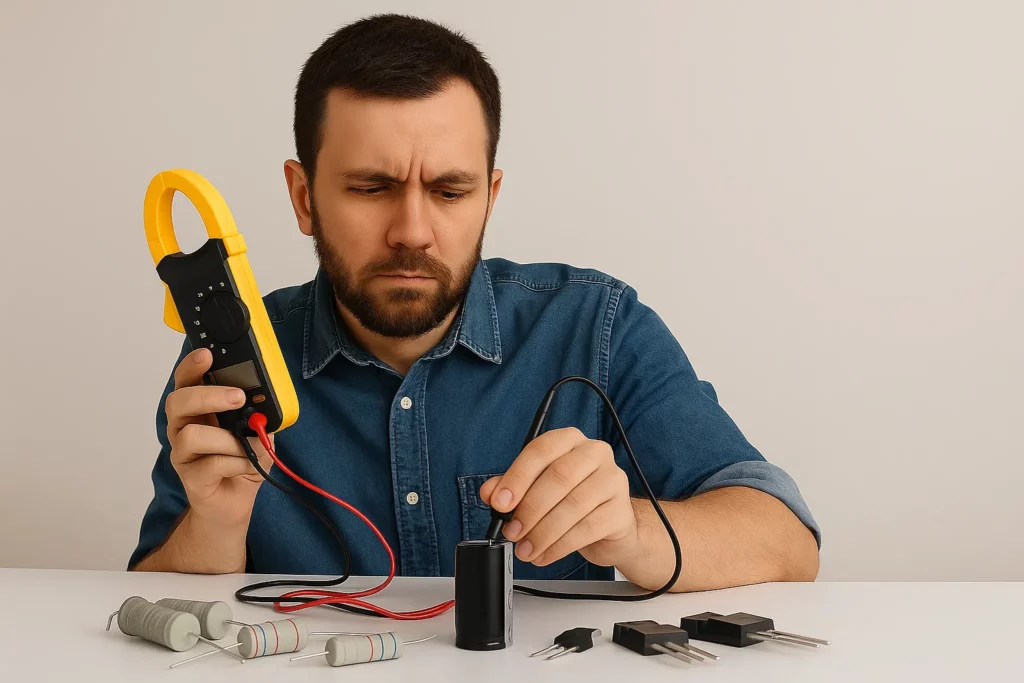
4. Testing Capacitors (if supported)
- Switch to the capacitance mode (μF symbol)
- Fully discharge the capacitor first!
- Connect the probes and wait for a stable reading
You can use this to check if a fan capacitor or AC motor starter is working.
5. Tracing Broken Wires (Manual DIY Way)
- Use the continuity mode to check wire sections step-by-step
- Probe from start to midway, then midway to end
- If no beep in any section, you’ve found the break
This technique takes patience but works well for hidden or buried wires.
Common Mistakes to Avoid
Even with the right tool, it’s easy to make mistakes—especially if you’re new to clamp meters. Here are some to watch out for:
- Clamping around multiple wires – This will cancel the current reading (you’ll get 0A).
- Measuring current in the wrong mode – Don’t try to measure DC current with an AC-only clamp meter.
- Not discharging capacitors before testing – This can be dangerous and damage your meter.
- Measuring resistance on a live circuit – Always turn off power first.
- Forgetting to switch off the meter – This drains the battery quickly.
FAQs
Q: Can I use a clamp meter as a multimeter?
A: Many clamp meters include basic multimeter features like voltage, resistance, and continuity—but not all. Always check your model.
Q: Do I need to cut the wire to measure current?
A: No. The beauty of a clamp meter is that you only need to clamp around a single wire—no cutting, no disconnecting.
Q: Can clamp meters measure DC current?
A: Some can, some can’t. Look for one that specifically says “AC/DC current” if you need to measure DC.
Q: Can I damage the meter by using it wrong?
A: Yes. Trying to measure current with the wrong setting, or testing voltage in the wrong port, can damage the device—or worse, hurt you.
Final Thoughts
Clamp meters are powerful tools for homeowners and DIYers—if you know how to use them right. Whether you’re checking your AC unit, testing a breaker, or tracing a bad wire, a clamp meter saves time and keeps you safe.
You can buy a clamp meter anywhere, but if you purchase through my affiliate links, you pay nothing extra and help support me and my growing family—especially the little one on the way. Every click truly means a lot.
👉 Ready to shop? Check out my full guide to the Best Clamp Meters for DIYers in 2025
*Disclosure: This post contains affiliate links. If you buy through them, we may earn a small commission at no extra cost to you.*